Fall Weatherstripping Refresh for Bloomington MN Homes
A fall weatherstripping refresh means inspecting and replacing the seals, sweeps, and gaskets around your doors and windows before winter arrives. For Bloomington, MN homeowners, this task is time-sensitive. Minnesota winters arrive fast, and a single failed door sweep or cracked window seal can add measurable cost to your heating bill. The process involves checking each exterior entry point, identifying worn materials, and installing fresh weatherstripping before the first hard freeze. Most homes need this refresh every two to three years. You can complete a basic refresh in a few hours with standard tools.
Step 1: Walk Every Exterior Door and Window Frame
Start outside on a calm day and work your way around your home's perimeter. At each door, look at the door sweep along the bottom edge and press lightly on the foam or rubber compression strips along the sides and top. Cracks, flattened sections, and visible gaps are all signs of failure. At windows, inspect the glazing compound along the glass edge and the foam backer around the frame. Bloomington homes built before 2000 often have original compression seals that have hardened and lost their flexibility after decades of freeze-thaw cycling. Write down every location that needs attention before you buy materials, so you purchase the right profiles and lengths.
Step 2: Remove Old Weatherstripping Completely
Partial replacement rarely works. If one section of a door sweep is cracked, the rest of the sweep is close behind. Pull the old material away cleanly and scrape any adhesive residue from the frame or threshold surface. On door jambs, use a putty knife or plastic scraper to avoid gouging the wood. On metal frames, a solvent-dampened cloth removes adhesive cleanly without damage. Allow the surface to dry fully before applying new material. Skipping this step causes new adhesive-backed strips to peel within weeks, which means you repeat the job in January when temperatures in the Minneapolis metro are well below freezing.
Step 3: Select the Right Weatherstripping Profile for Each Location
Different locations require different seal types. Door bottoms need an automatic door sweep or a threshold gasket that compresses when the door closes. Side jambs and top frames work best with V-strip tension seals or foam compression tape depending on the gap size. Window frames typically use foam rope caulk for the cold months or a fitted compression strip for a longer-term fix. At hardware stores in the Bloomington area, you will find several grades of each product. Choose EPDM rubber over basic foam wherever the seal contacts a moving surface. EPDM holds up through Minnesota temperature swings that can span 100 degrees between July and January.
Step 4: Install Door Sweeps and Threshold Gaskets
Measure the door width and cut the sweep to fit flush with both edges. Most automatic sweeps attach with two screws into the door face. Set the sweep height so it makes light contact with the threshold when the door is closed but does not drag hard enough to resist closing. A sweep that drags too heavily wears out in one season. For threshold gaskets, remove the old gasket from the threshold channel, press the new one in place, and confirm the door compresses it evenly across the full width. If your front or back door faces north or sits exposed to prevailing west winds common in the western Bloomington neighborhoods near France Avenue, prioritize those entries first.
Step 5: Seal Window Frames Before Hard Frost
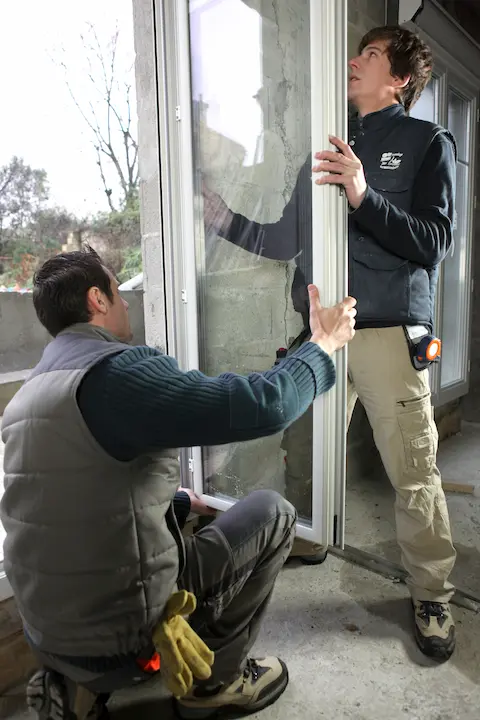
Window seal refresh is the part most Bloomington homeowners skip, then regret in December. Press new compression foam into the channel between the sash and frame on double-hung windows. For casement windows, check the perimeter gasket that seats against the frame when the window closes. If it has flattened or torn, replace it before the heating season starts in earnest. For older single-pane windows still in service, a secondary layer of rope caulk pressed into the interior sill joint adds meaningful insulation. If your windows are showing more serious issues, Window & Door Installation is the longer-term solution that eliminates repeated seasonal patching.
Step 6: Test Every Sealed Entry Point
Once all new material is in place, test each location. The dollar bill test is the standard method: close a dollar bill in the door or window, then try to pull it out. If it slides out with no resistance, the seal is not tight enough. Adjust sweep height or add a second layer of compression tape until the bill meets resistance across the full width. You can also hold a candle or incense stick near the seams on a cold day and watch for smoke movement indicating airflow. Address any failures before the first freeze. For background on protecting your entries through the full cold season, read this article on winter entryway protection for additional preparation steps that pair with weatherstripping work.
Step 7: Set a Reminder for Spring Inspection
Minnesota's freeze-thaw cycle does more damage to weatherstripping than consistent cold alone. After a Bloomington winter with multiple deep freeze and thaw events, materials that looked fine in October may be cracked or compressed flat by April. Set a calendar reminder for late March or early April to walk the same perimeter check you completed in the fall. Catching failures early in spring means lower repair costs before next fall's refresh and better performance through summer humidity cycles that can also degrade foam and rubber seals over time.
